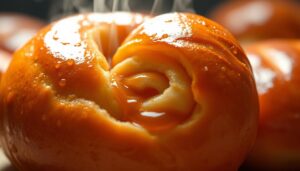
Welcome to the world of homemade honey buns. Here, sweet dough meets rich honey for a treat you can’t help but love. You’ll learn to make these tasty buns at home, from their history to the perfect recipe. This guide is for everyone, from experienced bakers to beginners, to make your honey buns irresistible.
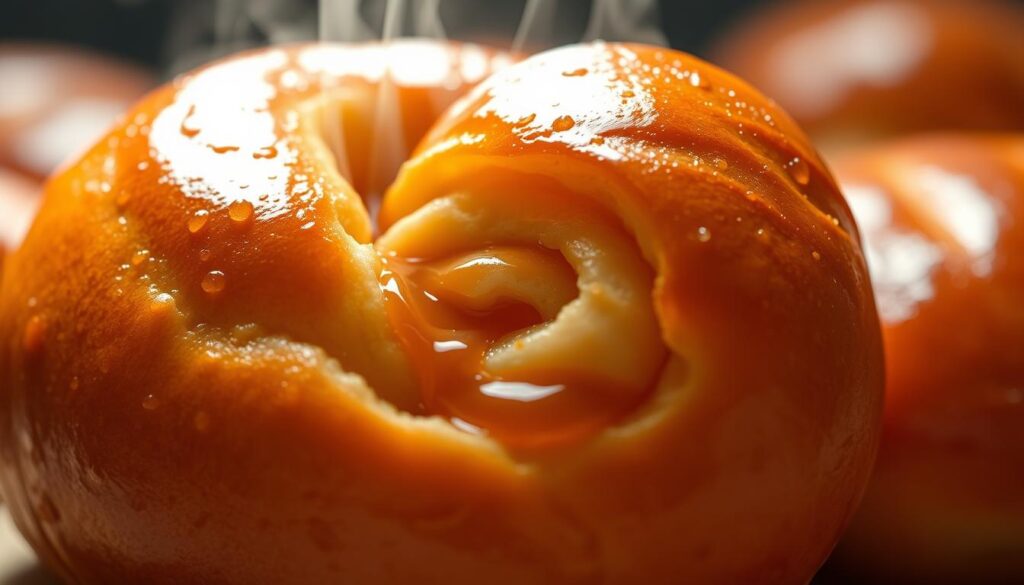
Making a honey bun at home is a fun and rewarding task. With the right ingredients and techniques, you can make a bun that’s not only tasty but also looks great. Imagine the smell of freshly baked honey buns filling your home with sweet scents.
In this article, you’ll learn the secrets to making the perfect honey bun. From making the dough to glazing it, you’ll discover how to impress your loved ones. You’ll also learn how to make a delicious honey bun for any occasion.
Introduction to Homemade Honey Buns:
Remember, making the perfect honey bun takes practice. Don’t worry if your first batch isn’t perfect. With time and patience, you’ll get better and make a honey bun that’s truly irresistible.
Key Takeaways
- Learn how to make homemade honey buns from scratch
- Discover the secrets to creating a sweet and irresistible honey bun
- Master the techniques for making a delicious honey bun
- Understand the importance of using high-quality ingredients
- Learn how to create a visually appealing sweet pastry
- Get tips for storing and serving your homemade honey buns
The Sweet History of Honey Buns:
The history of honey buns is a sweet tale that spans centuries. These treats have their roots in traditional European pastries. Over time, they evolved and became a favorite breakfast pastry in America. The addition of cinnamon gave them a unique taste, making them a beloved bakery treat.
The journey of honey buns is linked to American cuisine’s growth. European settlers brought their baking traditions to the New World. They mixed local ingredients with their recipes, creating new breakfast pastry delights, like the cinnamon honey bun.
-
Origins of the Classic Honey Bun
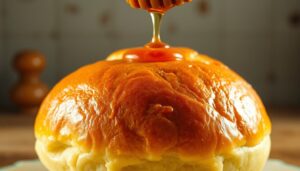
The honey bun’s roots are in European sweet breads and cakes, like those from Germany and Austria. These pastries were filled with nuts, fruits, and spices. They were baked in large batches for special events. American bakers then made their own versions, using local ingredients like cinnamon and honey.
-
Evolution into a Popular Breakfast Treat
The honey bun became a favorite breakfast pastry over time. Bakeries across the U.S. started offering their own versions. The addition of cinnamon and other spices made the cinnamon honey bun a hit. Today, it’s a beloved bakery treat enjoyed by many.
| Type of Pastry | Origin | Key Ingredients |
|---|---|---|
| Honey Bun | European | Honey, cinnamon, nuts |
| Cinnamon Honey Bun | American | Cinnamon, honey, sugar |
Essential Ingredients for Perfect Honey Buns:
To make a tasty , you need the right ingredients. Each part is key to the final taste. Knowing what each ingredient does helps make a that’s both tasty and fulfilling.
For a perfect , the flour is crucial. You’ll need:
- 2 cups of all-purpose flour
- 1 teaspoon of salt
- 1 tablespoon of sugar
For the dough, you also need:
- 1/2 cup of honey for the glaze
- 1/4 cup of cinnamon for extra spice
- 1/2 teaspoon of yeast for the rise
A is a classic for any event. With the right ingredients, you can make a delicious that everyone will love.
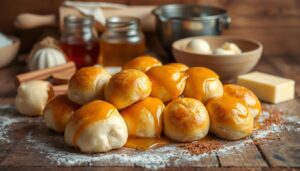
Using top-notch ingredients and a simple recipe, you can make a perfect. It’s a great treat for anyone, whether you’re new to baking or experienced.

| Ingredient | Quantity |
|---|---|
| Flour | 2 cups |
| Sugar | 1 tablespoon |
| Honey | 1/2 cup |
Making Your Honey Bun Dough from Scratch:
To make a tasty sweet pastry, you need a great dough. Making honey bun dough from scratch might seem hard, but it’s doable. You’ll get a dough that’s smooth and elastic, perfect for any time.
When mixing the dough, order matters. Start by activating the yeast, then add flour, sugar, and more. The goal is to mix everything just right for the right texture. Here’s how to do it:
- Combine warm water, yeast, and sugar to activate the yeast
- Add flour, salt, and other ingredients to the mixture
- Mix the dough until it’s smooth and elastic
After mixing, it’s time to knead. Kneading helps develop the dough’s gluten, which makes your honey buns special. You can knead by hand or with a stand mixer. Let the dough rise in a warm spot until it’s doubled.
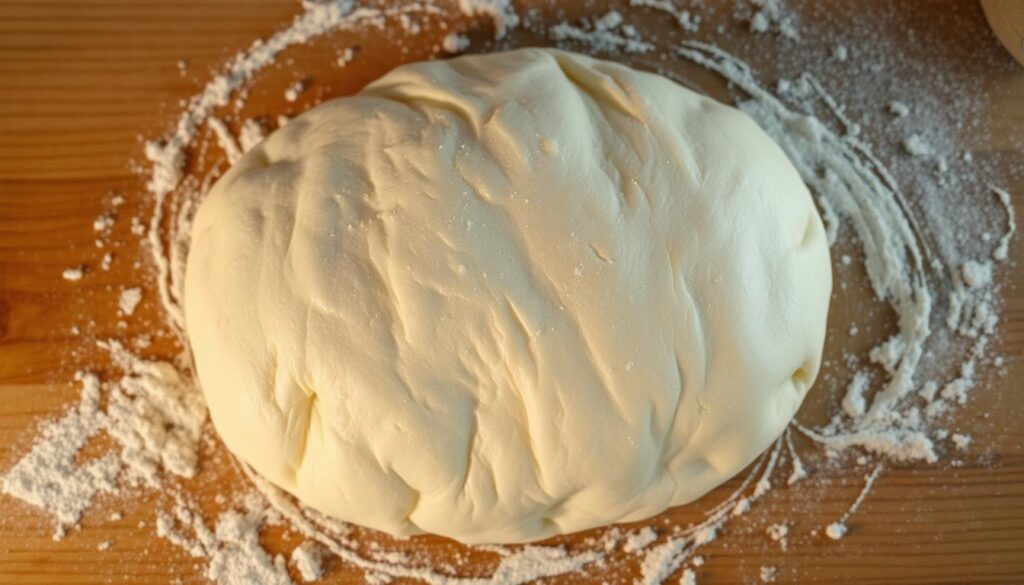
With the right ingredients and techniques, you can make a delicious sweet pastry. It’s great for any occasion, whether you want a snack or a sweet start to your day. Making your honey bun dough from scratch is the key to perfection.
| Ingredient | Quantity |
|---|---|
| Flour | 2 cups |
| Sugar | 1 cup |
| Yeast | 1 teaspoon |
The Secret to That Classic Honey Bun Swirl:
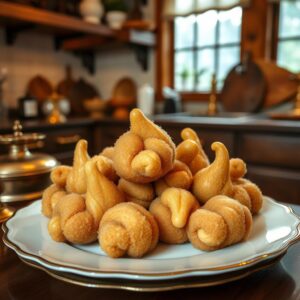
To make a swirled glazed honey bun, you need to layer and roll the dough. Roll out the dough, spread cinnamon-spiced filling, and roll it up. This creates the signature swirl. Make sure the dough is even and the filling is spread right.
When making a cinnamon honey bun, balance honey’s sweetness with cinnamon’s warmth. Use honey and cinnamon for a glaze that’s sticky and fragrant. This mix creates a sweet and spicy flavor.
- Roll out the dough to an even thickness to ensure that the swirl is consistent
- Spread the cinnamon-spiced filling evenly to avoid any bare spots
- Roll the dough up tightly to create a compact swirl
Follow these tips and practice to make a swirled glazed honey bun. It impresses everyone. Success comes from technique and quality ingredients. With patience and practice, you’ll get the perfect honey bun swirl.
| Type of Honey Bun | Ingredients | Technique |
|---|---|---|
| Glazed Honey Bun | Honey, sugar, flour | Rolling and layering |
| Cinnamon Honey Bun | Cinnamon, honey, sugar | Spreading and rolling |
Creating the Signature Honey Glaze:
To elevate your honey bun, a sweet and sticky glaze is essential. Start with the traditional honey glaze recipe. Mix honey, powdered sugar, and a bit of milk. This glaze complements the honey bun’s sweet pastry perfectly.
There are a few ways to glaze your honey bun. You can drizzle it on top or dip the whole bun for a stronger flavor. Either way, it’s a sweet treat that will satisfy your cravings.
Traditional Honey Glaze Recipe
- 1 cup powdered sugar
- 2 tablespoons honey
- 1 tablespoon milk
To make the glaze, whisk together powdered sugar, honey, and milk until smooth. Adjust the glaze’s thickness by adding more or less milk. It’s great for topping honey buns and dipping fruit or other sweets.
Alternative Glazing Options
Want to try something different? Use caramel, chocolate, or fruit glazes on your honey bun. These glazes add exciting flavors and are perfect for special occasions.
| Glaze Type | Ingredients |
|---|---|
| Caramel Glaze | 1 cup powdered sugar, 1/2 cup heavy cream, 1 tablespoon butter |
| Chocolate Glaze | 1 cup powdered sugar, 1/2 cup cocoa powder, 1 tablespoon milk |
| Fruit Glaze | 1 cup powdered sugar, 1/2 cup fruit juice, 1 tablespoon honey |
With these glaze options, you can make a unique and tasty honey bun. Whether you prefer the classic honey glaze or something new, there’s a glaze for you. So, get creative and find your favorite honey bun topping!
Baking Tips for Professional-Looking Results:
To get professional-looking honey buns, mastering the baking process is key. You might want them golden brown or soft and indulgent. Paying close attention to detail is crucial. Here are a few tips to help your honey buns look perfect every time.
Temperature control is vital when baking. Making sure your oven is at the right heat is essential. This ensures the right texture and color. Here are some tips to help you get it just right:
Temperature Control
- Invest in an oven thermometer to ensure accurate temperature readings
- Preheat your oven to the correct temperature before baking
- Avoid opening the oven door during the baking process to prevent temperature fluctuations
Timing your bake is also critical. Here are some visual cues to help you determine when your honey buns are done:
Visual Cues for Doneness
Look for a golden brown color and a soft, fluffy texture. You can also check for doneness by inserting a toothpick into the center of the honey bun – if it comes out clean, it’s ready.
By following these baking tips, you’ll be able to create professional-looking honey buns. They’ll impress anyone, whether enjoyed as a sweet treat or a special snack. The extra effort will be worth it.
Storage and Serving Suggestions:
To keep your honey buns fresh, proper storage is key. Let them cool completely on a wire rack after baking. This step prevents moisture buildup and keeps them from getting soggy. Store them in an airtight container at room temperature for up to 3 days.
For longer storage, freezing is a good option. Place them in a single layer in a freezer-safe bag or container. Store in the freezer for up to 2 months. To serve, thaw at room temperature or reheat in the microwave.
Serving your honey buns can be fun and varied. Enjoy them as a sweet breakfast treat with coffee or tea. Or, serve them as a dessert with ice cream or honey. Here are some ideas to get you started:
- Top with fresh fruit, such as strawberries or blueberries, for a sweet and healthy twist
- Pair with a dollop of whipped cream or a sprinkle of powdered sugar for added indulgence
- Use as a base for a dessert sandwich, filled with Nutella or peanut butter
Follow these tips to enjoy your homemade honey buns for days. Whether you crave a sweet pastry or a sugary dessert, these suggestions will enhance your baking experience.
Conclusion: Mastering Your Homemade Honey Buns:
Mastering homemade honey buns is a journey of tradition, technique, and creativity. You’ve learned about the history of this beloved pastry. Now, you know how to make irresistible honey buns in your kitchen.
Success in honey bun baking comes from experimenting and embracing the process. Try new flavors, play with dough texture, or explore glazing techniques. Each batch is a chance to improve and create your own style.
Enjoy the journey of making honey buns. They bring joy to you and your loved ones. Homemade honey buns show off your baking skills and create lasting memories.
FAQ
What are the essential ingredients for making homemade honey buns?
How do I make the honey bun dough from scratch?
What’s the secret to achieving the classic honey bun swirl?
How do I create the perfect honey glaze for my homemade honey buns?
What tips can I use to achieve professional-looking results when baking honey buns?
How should I store and serve my homemade honey buns?
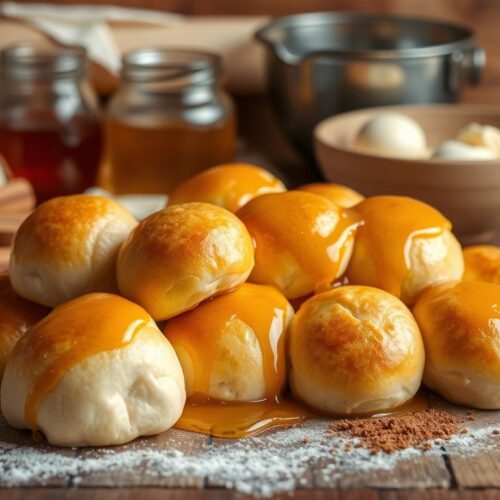
Honey Buns
Notes
Ingredients Honey Buns:
To make a tasty , you need the right ingredients. Each part is key to the final taste. Knowing what each ingredient does helps make a that's both tasty and fulfilling. For a perfect , the flour is crucial. You'll need:- 2 cups of all-purpose flour
- 1 teaspoon of salt
- 1 tablespoon of sugar
- 1/2 cup of honey for the glaze
- 1/4 cup of cinnamon for extra spice
- 1/2 teaspoon of yeast for the rise


